The cabin air filter helps keep dust, pollen, allergens and foul odors out of your Prius. Here’s a quick DIY guide to replacing the cabin air filter:
Step 1: Buy a quality cabin air filter – CARspec uses only Toyota factory replacement cabin air filters:
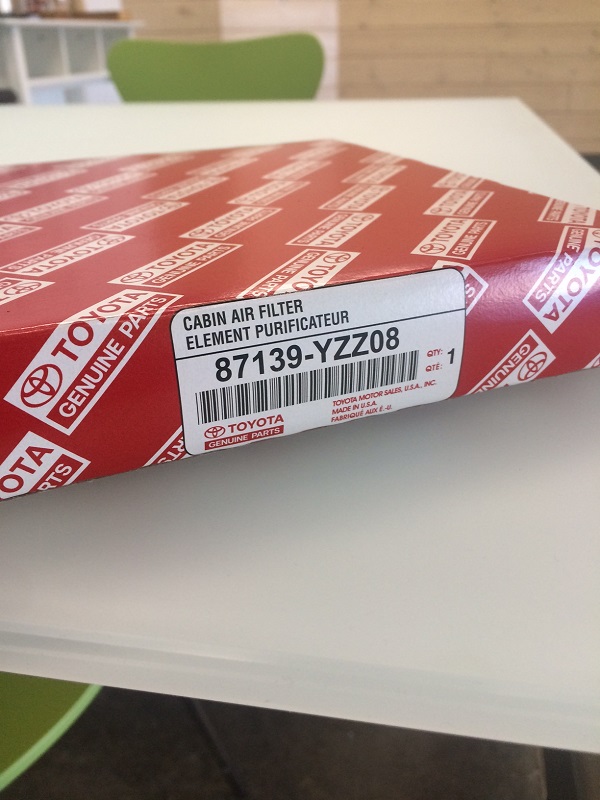
Cabin Air Filter
Step 2: Open and remove the damper that attaches to the right side of the glovebox.
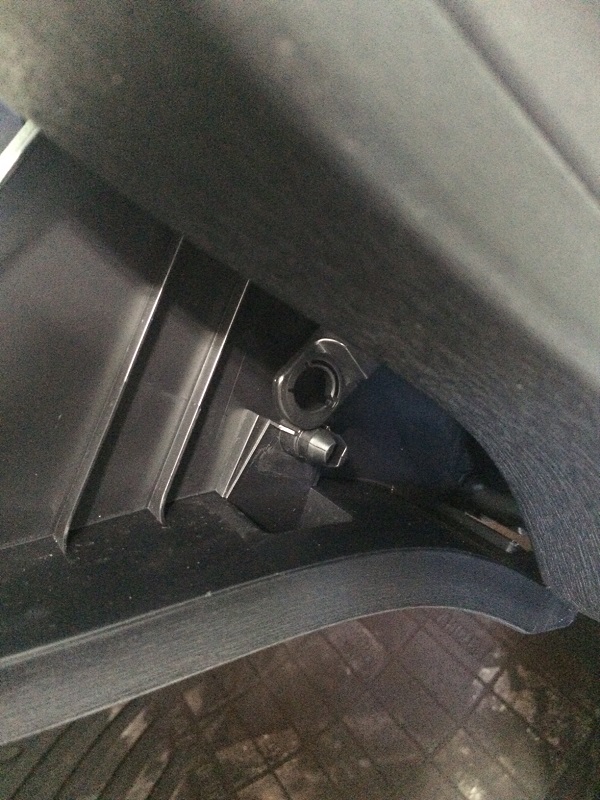
Damper Disconnected
Step 3: Remove the glovebox. Here it is as show from the back after removal – first pull the lower claws straight out, then work the upper stops free by rotating the glovebox back and around the stays at the side
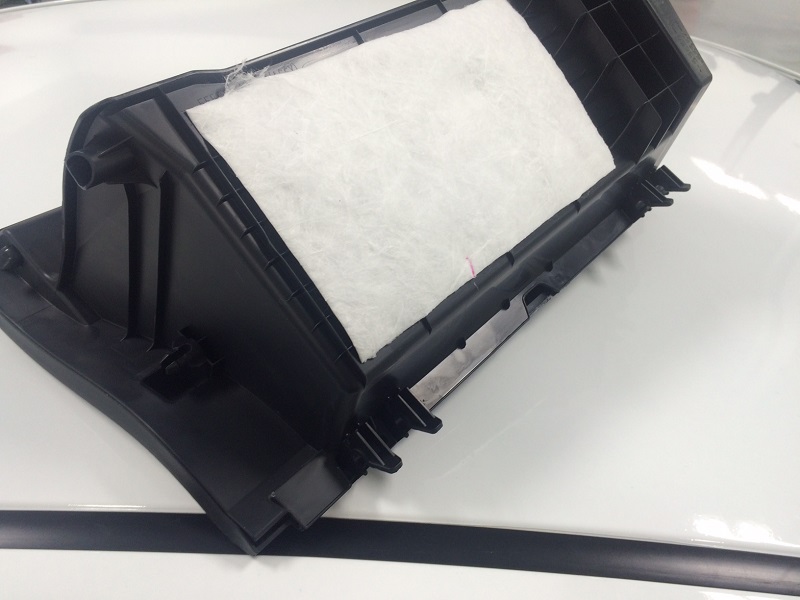
Prius Glovebox Removed
Step 4: Open the filter housing’s cover by releasing the tab on the right
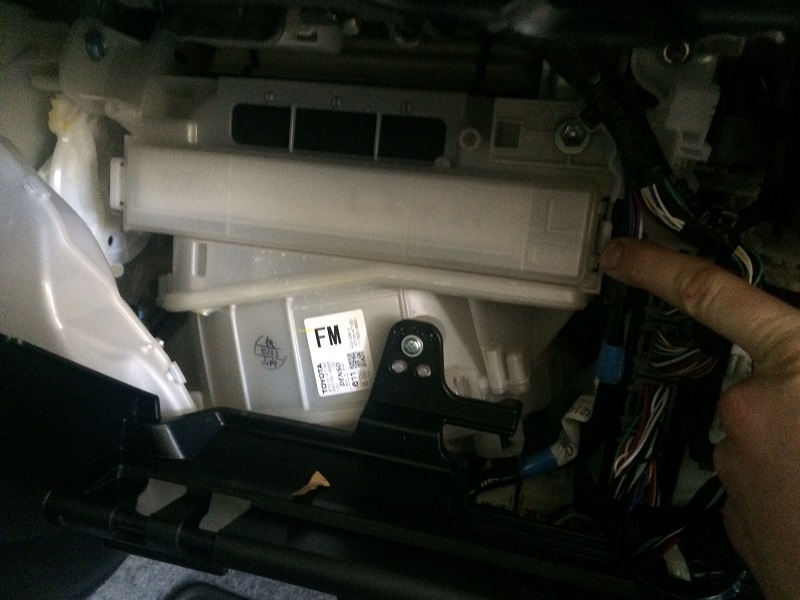
Cabin Air Filter Cover
Step 5: Remove and replace the filter. Note the correct direction of the filter on your new unit (it’ll have an arrow indicating airflow or which side goes up)
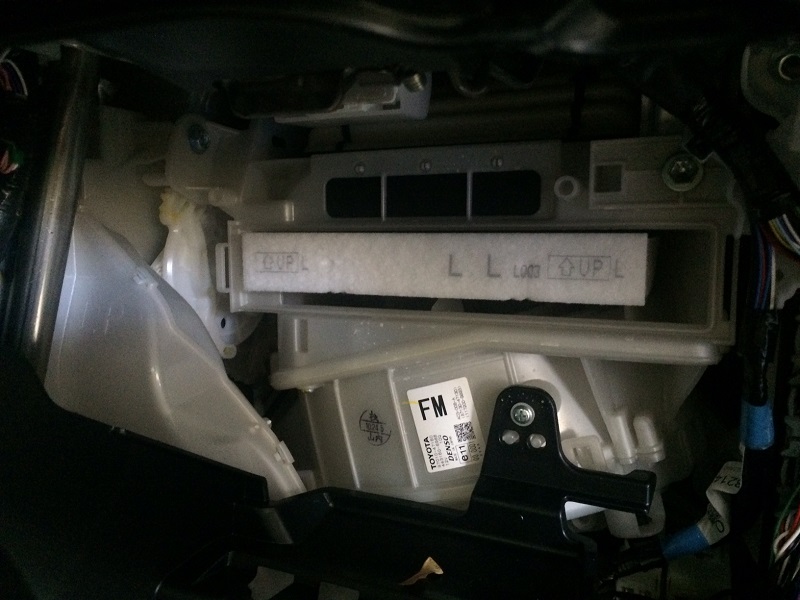
Cabin Air Filter Installed
Reinstall the cover, glovebox and damper and you’re all set!
As Eden Prairie and Chanhassen’s Toyota and Lexus specialized repair shop, CARspec offers maintenance on all Toyota, Lexus and Scion models featuring factory trained technicians using Toyota original replacement parts. Give us a call today for your Toyota maintenance or repair needs today!